This month I recently had the unfortunate pleasure of re-installing Windows on all my computers due to some botched Windows Insider updates. Yeah… ouch.
But I got good at replicating my dev environment! So I thought it’d be a good chance write an update on setting up a modern web development environment on Windows 10 using the Windows Subsystem for Linux (WSL) and Visual Studio Code.
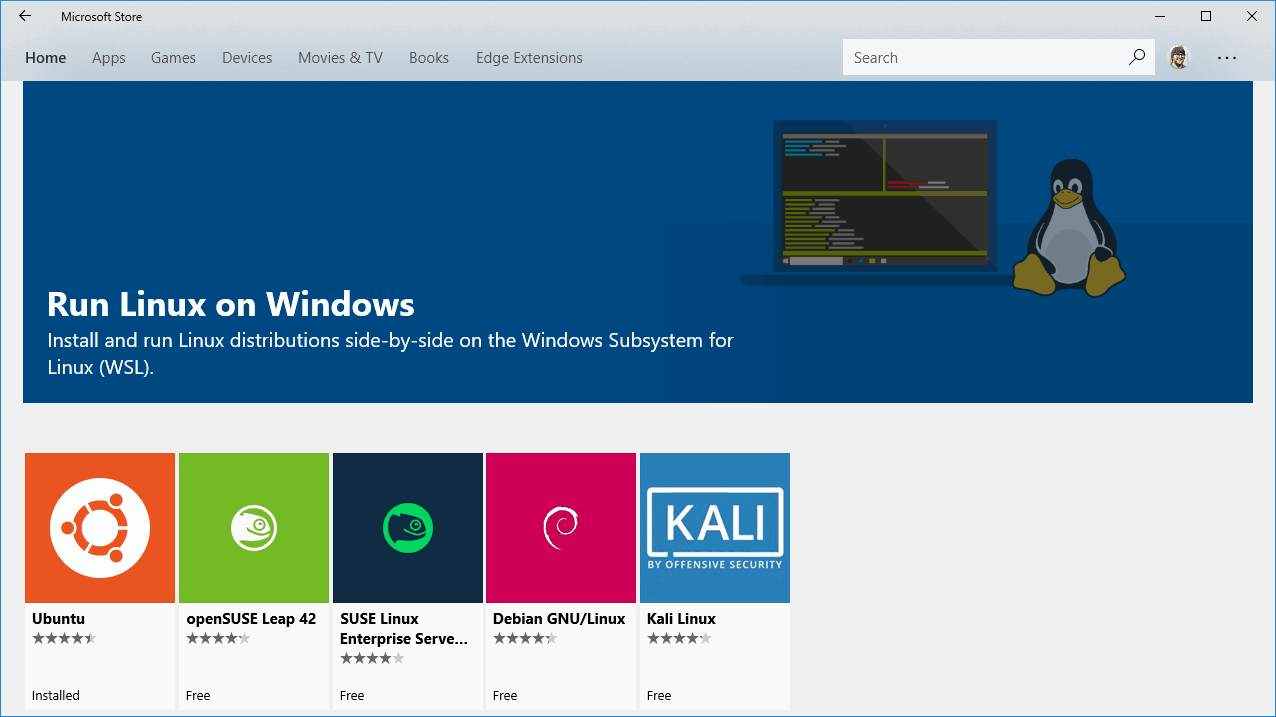
Install Linux on Windows
The first step is to install an operating system on your operating system. Let’s follow the steps from https://aka.ms/wslinstall. First, open Powershell by searching for it in Cortana and right-clicking for a context menu and clicking “Run as Administrator”. Enter the following command:
Enable-WindowsOptionalFeature -Online -FeatureName Microsoft-Windows-Subsystem-Linux
Next step, go to the Windows Store and choose your flavor of Linux. I like Ubuntu because it’s a pretty common development environment and most readme docs and tutorials are written for it.
Launch Ubuntu.exe from the Start Menu. You’ll be asked to enter a username and password (for sudo stuff). Congrats! You’ve installed Linux. In fact, that’s probably the easiest way ever to install Linux. It’s very vanilla though. We’ll need to install all the Web Development goodies, but first let’s install Visual Studio Code.
Install Visual Studio Code for Windows
First, Download Visual Studio Code for Windows from the website. Juggling two operating systems is a little confusing, you just installed Linux but we want the Windows-version of Visual Studio Code that we can launch from the Taskbar and Start Menu. We’ll edit all our project files in the Windows realm.
When you open Visual Studio Code for the first time you’ll get an error:
⚠ Git not found. Install it or configure it using the 'git.path' setting.
This is telling us we don’t have git yet installed. Git in needed to power the Source Control panel in the VS Code workspace. Again this is a bit confusing because we’ll probably need to install git on both Windows and Linux. Let’s unblock the Windows side of things…
Install Git for Windows
Download Git for Windows from the git-scm website. Follow the Install Wizard.
For the curious, here are some options I modified...
- Unchecked the "Windows Explorer integration" and checked the "Check daily for Git for Windows updates" options.
- Checked "Don't create a Start Menu folder"
- Selected "Use VisualStudioCode as Git's default editor"
- Selected "Use Git from the Windows Command Prompt" (said "no" to the optional Unix tools in my Windows Command Prompt)
- Selected "Use the OpenSSL library"
- Selected "Checkout as-is, commit Unix-style line endings" - Your mileage may vary, but Code seems to handle LF endings fairly well. And any CRLF endings you create Windows be converted back to LF when committing. This is a magic sauce for Win-to-Unix compatibility.
- Selected "Use Windows' default console window"
Now Code should be using Git for Windows. Opening Code we get a new fatal: Not a git repository error, this is because we haven’t opened a project with a git repository yet.
Configure VS Code to use Bash
One more thing you’ll want to do before you start downloading projects is set Bash to be the default terminal for VS Code. This is my primary way to interact with the Linux. To do this, open settings and add this rule to your User Settings:
"terminal.integrated.shell.windows": "C:\\WINDOWS\\sysnative\\bash.exe"
Restart VS Code and use CTRL + ` to open the Integrated Terminal (or search “Integrated Terminal” in the Command Palette). You should now be all setup and ready to web develop.
👉 One thing I want to call out here is the path in your Bash prompt, it should look something like…
<bashusername>@<computername>:/mnt/c/Users/<winusername>
This is key in understanding where Windows expects your project files to live. Which leads me to my most Frequently Asked Question…
FAQ: Where do my project files live?
This is where the WSL and a normal Linux workflow get a little different. When working with projects in WSL you want to save your project files in your Windows User Home directory. This lets any Windows App access or manipulate files your project files. Image exporting and compression is a pretty common task, but it could be as basic as right-click “Open with VS Code” in File Explorer. In Windowslandia, that’s:
C:\Users\<winusername>\
In WSL, this maps to:
/mnt/c/Users/<winusername>$
The /mnt/c/ shortcut maps to your “mounted” C:\ drive. So if I keep my files in C:\Users\Dave\Documents\Github I get there by typing:
cd /mnt/c/Users/Dave/Documents/Github
From this directory, I create/clone projects. Then using Bash, I cd into those directories and npm install / bundle install whatever I need. When you npm install files here from the command line, you’ll see your node_modules fill up in File Explorer, but all binaries and executables like libsass are compiled for Linux (I don’t know how, but it works).
My common workflows work like this: Start tasks (webpack, build processes, webservers) in Bash on WSL, then edit your project files using Windows apps.
If you come from a Unix background this gets confusing. Opening a Bash shell and typing cd ~ && pwd in WSL gets you the following…
/home/<bashusername>
This is not the same as your Windows User Home directory. This home folder actually maps to a hidden folder that Linux uses deep inside your User AppData directory…
C:\Users\<winusername>\AppData\Local\Packages\<distroname>\LocalState\rootfs\home\<bashusername>
Don’t open these files with Windows. Just ignore the files here. Editing these files with a Windows app can explode your Linux distro.
What do you use ~ for then? Good question! I use my $HOME directory to install nvm and rbenv or any other command-line utilities. I also edit my Dotfiles (like .bash_profile) that live in this directory with vim or nano (remember don’t edit these files with Windows apps or else it might explode).
Install Git, Python, Node, and Ruby on WSL
Now that we have our editor and shell setup, let’s install what we need to make websites inside the VS Code Integrated Shell.
Installing Git on WSL
We already installed Git for Windows, but let’s install Git on your Linux distro so we can use Git from inside Bash.
sudo apt install git
git config --global user.email "you@example.com"
git config --global user.name "Your Name"
git config --global core.autocrlf input
The core.autocrlf=input setting is pretty crucial. It can break things you install over git (like rbenv). If you have 2FA enabled on Github (you should), you’ll also need to follow the Add SSH Key to Github and be sure you’re using the Linux instructions.
Installing Python
Python is probably the easiest to install.
sudo apt install python3
echo "alias python='python3'" >> ~/.bashrc
source ~/.bashrc
Aliasing python3 to python can be dicey if you install something that expects python to be Python 2.
Installing Node
Node is almost as easy to install, let’s use nvm for that inevitable day where we have to support mutliple versions of Node.
curl -o- https://raw.githubusercontent.com/creationix/nvm/v0.34.0/install.sh | bash
source ~/.bashrc
nvm install --lts
You should now have node and npm installed.
Installing Ruby and Rails
Ruby has a few more dependencies. Thankfully WSL has improved so that we can follow any generic “How to Install Ruby on Rails” tutorial, I like this one from Digital Ocean.
sudo apt install autoconf bison build-essential libssl-dev libyaml-dev libreadline6-dev zlib1g-dev libncurses5-dev libffi-dev libgdbm3 libgdbm-dev
git clone https://github.com/rbenv/rbenv.git ~/.rbenv
echo 'export PATH="$HOME/.rbenv/bin:$PATH"' >> ~/.bashrc
echo 'eval "$(rbenv init -)"' >> ~/.bashrc
source ~/.bashrc
git clone https://github.com/rbenv/ruby-build.git ~/.rbenv/plugins/ruby-build
rbenv install 2.6.0 --verbose
rbenv global 2.6.0
echo "gem: --no-document" > ~/.gemrc
gem install bundler
gem install rails
You don’t technically need --verbose for installing Ruby via rbenv, but having some progress indicator helps with your sense of time.
It keeps getting better
Hopefully now you have a workable developer environment! WSL has brought me a lot of joy and productivity over the last couple years. Forced re-installs aside, it’s never been easier to do webdev on Windows (except maybe in circa 2000 when Frontpage was super popular).
One major difference this time around is I didn’t install Hyper and its Node for Windows dependency on my Windows system. I still love Hyper, but I can suffer through the default Ubuntu.exe app when out-of-editor. The Windows Console team now have a commandline tool to change colors, copy/paste and a tabbed console in Insiders builds. Not perfect yet but gets the job done.
One thing I didn’t cover completely is databases. The Rails install includes SQLite, but I’ll update this guide as I go through the process of installing other databases (MySQL, Postgresql, Mongo, etc). I also didn’t cover languages like Go or Rust which I hope to get into this year. I’ll try to get on this.
I’m on the 2017 Fall Creator’s Update and a few things don’t work: the new Jekyll Livereload feature, ngrok, and some background tasks. But all these are fixed in the Insider builds and should land in the 2018 Spring Windows Update that drops soon.
Like I said, it keeps getting better and the problems keep becoming fewer as time goes on.
Edit: 1/09/2019 - Setup a new Surface Laptop and updated some version numbers on NVM and Ruby here.