This month we launched a waitlist for Luro. For simplicity’s sake on our Eleventy-powered site, we felt like Netlify Forms was a slam dunk for getting the waitlist up and running in a couple minutes by adding a netlify attribute to our waitlist form.
<form action="/waitlist/success" name="waitlist" netlify>
	... form goes here ...
</form>
Netlify now intercepts these form requests, stores the results in a waitlist table, and lets us download them as a CSV. Huzzah.
CSVs are great and all, they power the business world, but we wanted to take it one step further and update a Notion database whenever someone uses the form. This gives us a lil’ impromptu CRM for adding metadata and tracking invite statuses internally when those start going out.
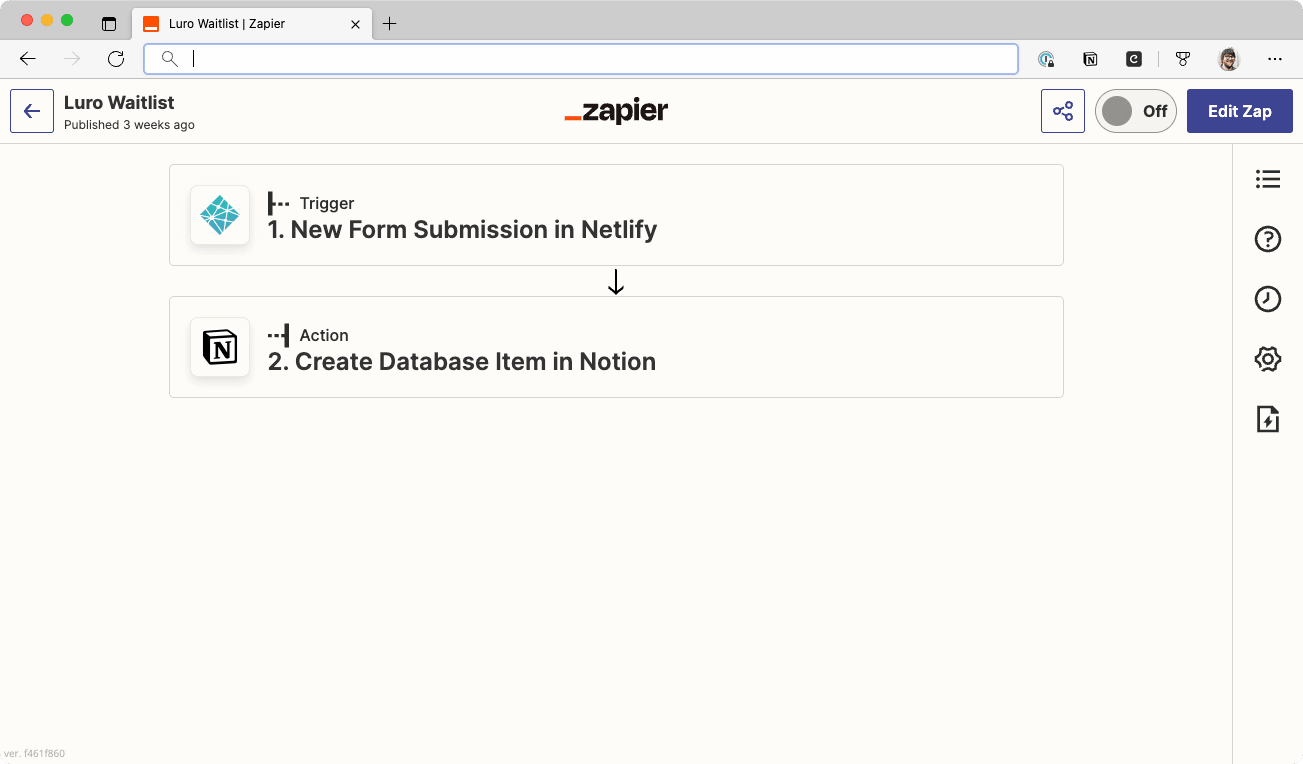
Sounds like a job for Zapier?
Yes! You can totally do this with Zapier. After clicking some buttons and authenticating some services, I was able to send Netlify submissions to Notion. In all it took about 10 minutes or so to get my “zap” all setup right.
The problem I ran into wasn’t technical at all, but sticker shock around pricing. Team plans on Zapier start at ~$299/mo. If you use Zapier heavily, it’s worth it I’m sure. But that’s pretty steep for a small startup trying to keep monthly costs low. Was there another way?
Build your own Netlify-to-Notion bridge
What about building my own? I knew Notion had an API, it should be possible to create a serverless function on Netlify that costs pennies per month and have that send data over to Netlify. From start to finish this took me about an hour, then a couple hours of debugging an issue that came up.
How to connect to the Notion API
First you’ll need keys to access the Notion API. I had good success following the Getting Started portion of the Notion API docs.
- Create a new Integration over at Notion and copy the secret
- Give the new Integration access to the database you want to update
- Get database ID from the URL of the database
I stored my NOTION_TOKEN and DATABASE_ID as environment variables that I added to Netlify. Now to write some code…
The submission-created function
The most straight forward way to intercept a Netlify form is to create a function called submission-created, which is an Event-driven Function that Netlify triggers when certain events happen. You can use the Netlify CLI in your Eleventy project to create your function.
ntl functions:create --name submission-created
Follow the prompts and select the [submission-created] option to create a sample function. And while we’re in the command line, let’s install the Notion API client.
npm install @notionhq/client
Next step is to write the function. But great artists steal, so I took this Netlify-Next-Notion example and tweaked the sample code ever so slightly to fit our form. The 🔑 key difference between my code and the sample code is that we’re using select and multi_select fields for the company name and tags, which have some gotchas (which I found 😫).
// functions/submission-created/submission-created.js
const { Client } = require("@notionhq/client");

exports.handler = async function (event) {
  const form = JSON.parse(event.body).payload.data;
  const notion = new Client({ auth: process.env.NOTION_TOKEN });
  try {
    const new_row = {
      parent: {
        database_id: process.env.DATABASE_ID,
      },
      properties: {
        Name: {
          title: [
            {
              text: {
                content: form.name,
              },
            },
          ],
        },
        Email: {
          email: form.email,
        },
        Company: {
          select: {
            name: form.company ? form.company.replaceAll(',','') : "None"
          }
        },
        Tags: {
          multi_select: [{
            name: "Website"
          }]
        }
      },
    };
    await notion.pages.create(new_row);
  } catch {
    console.log(error);
  }
  return {
    statusCode: 200,
  };
};
🎉 Tada! We’re done. When our form submits, Netlify intercepts, stores the data, and then triggers the serverless function which sends that data over to our Notion database. We’re taking the Company name and storing that as a select field and then we’re using Tags to show that this came from the website and wasn’t a manual sign up.
Notion API gotchas
I had some hiccups along the way with the Notion API, so I thought I’d log them here in case anyone else wants to avoid a data-loss event in their life.
selectandmulti_selectfields have two validation requirements:- Not empty
- No commas
- The column names and field types (
email,select,multi_select) in your Notion and your Function need to match, if anyone changes these on either end it’ll fall over. - The
titlefield type is special, it’s not atextfield, so be sure to copy that weird array of objects.
The first bullet point exploded on us. You can see in the sample code I strip commas and set a default value of "None" if undefined. The requirements are in the documentation but was pretty easy to miss. Hope that helps you in your quest.
The Notion API is fun
The Notion API is pretty fun. Now that I know how to do this, I could see myself building a bunch of useless integrations (e.g. Notion-powered bookshelf?). As a Notion fanboy, it feels I’ve opened Pandora’s box. It’s going to be difficult not to see this as a golden hammer.
If I had one complaint, it’s that the Notion API docs are a little dense. Not finding the documentation or good examples around using select fields caused some data-loss due to the validation errors we didn’t catch (the serverless function runs async). We restored the ~30 missing records in Notion, but ideally we had zero issues. That said, I’m extremely pleased with the outcome. I can zap my own Notions now. How cool is that?
That’s it! Netlify forms + Notion API = endless possibilities.